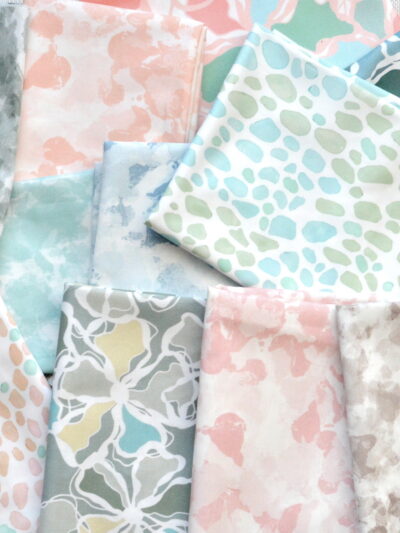
Today I’m featuring another print I created for the Spring Collection, I wanted a painterly mod floral to be a part of it. I’ve dubbed this pattern Painted Peonies and it was a lot of fun to create. I used multiple processes, it began with a rough sketch of a peony (several actually), they were combined to form a basic repeat then each print was colorized to form the petal outline.
To create the four colorways, I digitally painted each pattern petal by petal and stroke by stroke with brushes so each of the four prints is subtly different.


In fabric form it’s an edgy floral and I love it mixed with the Splatter pattern I introduced yesterday.

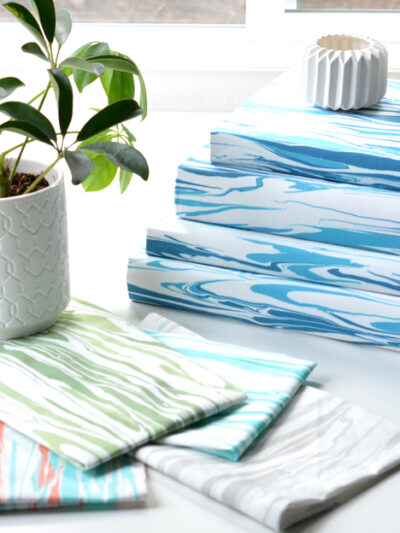
I used the bright blue Marine colorway to create a washable lined tote bag and this truly is the simplest bag to make!

I searched high and low across the internet for a simple tote bag tutorial, I came across a bunch of them and watched some videos but all of them involved a lot of steps and my brain started to get fuzzy reading about how to make them.
I wanted to make something SUPER simple so I came up with my own method. I like my bags a little wider and more shallow, I hate fishing around in the bottom of a deep bag for items so this design is what I wanted, plus it’s comfortable to carry in your hand or slung across your shoulder.
It’s very easy, if you can sew a straight line, you can make this simple tote bag! I’ve made three so far, they only take about 30 minutes once you’ve made the fabric cuts. One yard of 54” fabric yields one lined washable bag (I used the Marine Painted Peonies in linen/cotton), here’s the diagram of the pieces to cut and sew.

Step One: Cut your pieces as indicated above then sew the straps first. I turn the fabric inside out so the pattern faces itself, stitch along the side, then use a safety pin to weave the fabric through so it’s right side out.

This is optional, but you can sew the edges of the strap to ensure it lays flat at all times. If you skip this step, just press it flat with an iron after you wash the tote and when it comes out of the dryer.

Step Two: Fold over the largest piece so that the A side meets the C side with the pattern facing itself (inside out) and sew together.

Step Three: Now sew the fabric together along the B and D sides, but not in the middle. Allow for 8” in the middle where you’ll attach the straps. Fold right side out so the fabric pattern is facing you, then fold over sides B and D so that the inside of the bag has the same patterned fabric as the outside. Pin the straps to each of the B and D sides in the middle as shown, they should be 26” long but you’ll tuck 1” in on each side to make the full length of the strap 24” for comfortable carrying.

Step Four: Sew a straight stitch close to the edge to secure the straps and close the 8” opening on both the B and D sides of the tote bag.

Step Five: Fold over the B side to the D side now that the straps are attached and sew the A and C sides together, making sure the back side of the straps are facing up (since you’ll be reversing it so the right side of the straps face out properly when the bag is complete.) You’re almost complete tote bag should look something like this:

Step Six: You’re almost done, now just form the square base of the tote. Do this by measuring 3 ½” from the corner and forming a triangle. I enlisted my little boy to help hold the measuring tape in place to demonstrate! Sew straight across to form the square bottom (that triangle will go inside the base of the tote.)


You’re done! Turn it inside out to reveal your tote bag! (Pocket instructions below).

Here in Sonoma County, California they passed an ordinance outlawing plastic bags at the grocery store and requiring you to use your own bags at the market or buy a paper bag for 10 cents each. It’s a tax I hate to pay so I bring my own bags to the market these days, so why not have the cutest bag for groceries? I’ll be keeping two of these in the car for my trips to the market several times a week.

If you want to add the the optional pocket for smaller items, here’s how. Fold the piece inside out from the diagram above so the pattern faces itself, and stitch it together on three sides to form a square, then flip that inside out. It’s best to press it flat with an iron to distinguish the square shape of the pocket. Use a plain or fancy stitch on your sewing machine to attach the pocket on three sides to the outside of your tote bag.


Lined and washable, the simplest tote bag ever!

Tomorrow I’ll be sharing another new print and another DIY project, come on back to see it.
…


LOVE this pattern, great job and I love how its a painted look, which makes it look more natural! I will be making pillows for my couch using both of these fabrics! I have been looking for fabric to brighten up my couch, and I am in the middle of sprucing up my apartment so these would be great. Can’t wait to see what you show us tomorrow!! (maybe I should wait and see? he he)
Thanks for sharing
Lauren | LB Designs
xx
I’m hoping to redecorate my living room next year and the peony print in the gray colorway is a definite contender for draperies. I like how there’s both warm and cool grays in there. Gorgeous! And I agree about totes–wider not taller. Great tutorial. Thanks!
You have probably mentioned it elsewhere but I missed it- where can I find your fabrics? Great patterns for spring. Thanks.
In my Spoonflower shop Tina! More patterns coming this week :)
http://www.spoonflower.com/profiles/kateriley
Kate
This is a wonderful tutorial and such pretty fabric! What kind of sewing machine do you sew on? I need to to buy a new one, since mine died over the holidays. Thanks!
These are absolutely gorgeous patterns! They are the perfect missing link to the pillow fabric post I’m working on it! Your eye never ceases to amaze! :) Thanks for creating and spreading Spring beauty!
Lydia
lydioutloud.com
I love your peony fabric, Kate!
Kate…..
I have been following you for quite a while
and love your decorating ideas.
You do a great job sharing interior design & DIY
projects I really like home dec sewing projects. Your bag for shopping
is good idea. Shallow and not fishing for things.
Seems like all the great fabric is purchased by stores. I find
lots of draperies with great design and repurpose into pillows, etc.
Keep up your great sharing!!!
Katherine in Portland, Oregon
formerly from Southern California
It’s absolutely lovely, Kate! I especially love the one with the blue background!:-)
I am going to use your pattern to make several tote bags. They’re awesome. How did you line them though? Am I missing that in the tutorial? Thank you.
They are lined Ami because you sew what’s like a giant pillow form turn it inside out to reveal the fabric then fold it over, see Step 3 and 5.
Kate
All of them are gorgeous! !!
I’m loving the one with the navy background for my spring/summer living room pillows.
What a great source of inspiration is your blog! Thank you for all your hard work.
This is so pretty! I would have never guessed that you made it yourself. I love the print of the fabric too. Fabulous.
I love the new fabrics and the tote bag! Also, I’m dying to know when we get to see the next update o your fixer-upper in Vegas?! I can’t wait to see how the kitchen is coming along!
Hi Ann! Kitchen countertops will be fabricated soon, then it’s time to add the appliances and light fixtures and the backsplash and I CAN’T WAIT for that because the one I picked is STUNNING!
Thanks for following along on the reno adventures!
Kate
This is inspiring me to get out my sewing machine again!! I’m in love with those prints!
Seng
http://www.sengerson.com
Hi Kate,
I am loving theses posts with your new fabrics! Love the patterns and the DYIs! Thanks!
Ellen
Looks perfect for the beach!
Super easy tutorial, and it looks great, but did I miss the step about adding the lining?
Love, Love, Love this tutorial! Need something for a mother’s day gift! Thank you! Also, I think I’m missing the lining bit as well? Feeling a bit dense as I’ve read the tutorial almost a dozen times! ha! Thank you again!
It’s like sewing a giant pillow form, turning it right side out and folding it over in half after the straps are attached. The bag is lined by the same fabric when you fold it over – Step 5.
Kate
I just love this print! I agree with you about having long and shallow tote bags being so much easier! This is a great pattern for that and I think a sewing newbie like myself could do this. Also, I just think your blog is awesome! I check daily and your taste is amazing. Thank you for all your wonderful posts!
I went back and re-read steps 3 and 5… still not getting the lining part???? Could you explain what we are missing?
I adore your creativity and it makes me sad I can not sew. I am sharing it with my cousin WHO CAN SEW. ;)
Love your new fabrics!
These fabrics are gorgeous! Thank you for sharing the beauty of your creativity. I can’t wait to try this bag. Many Blessings.
So pretty! Love peonies! Can you tell me where that chair is from? The one in the first picture with the nailhead trim – such a pretty solid color.