A simple tutorial for cheap & easy DIY shiplap using inexpensive material from a home improvement store.
Remember when we were all into the board and batten wall treatment a few years ago? Everyone did it including me, and there were a zillion DIY tutorials published on the web.
Fast forward, now the rage is shiplap and everyone is doing it and there are a zillion tutorials published on the web. I’m late to this party but I’ve finally arrived. Yes, I’ve finally jumped on the shiplap bandwagon.
I mentioned in a post last week I was adding it to my bathroom and I received a comment, “ouch, don’t tell me you too have gone the way of shiplap?” which I found funny and I had to reply “just a touch”. If you watched my Instagram stories, you knew what I was up to last weekend.

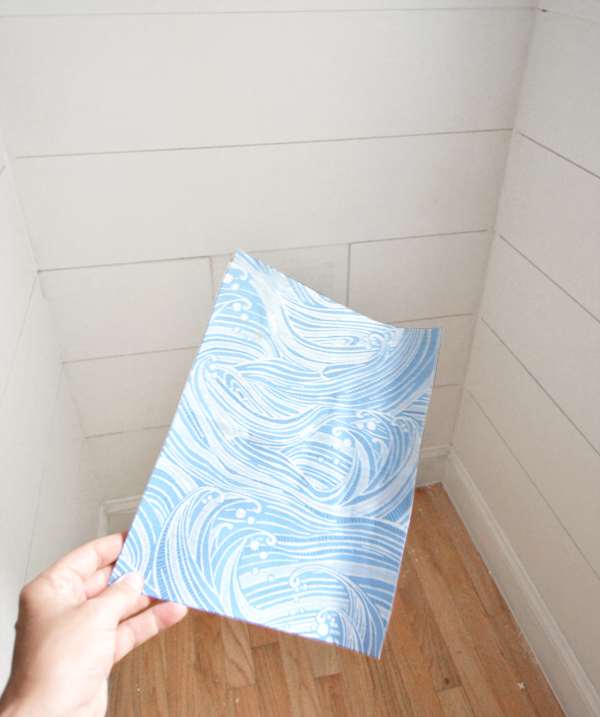
I wouldn’t cover my house in it, but in my powder bathroom I knew the look would feel fresh, modern, and coastal, and it would be the best complement to the waves wallpaper I’m about to install above it in this space.
When I was contemplating this wall treatment I did what any incurable DIYer does, I researched what others had done and then thought to myself how would I do it. I was going for simple and affordable.
At first I was thinking of using laminate or vinyl flooring because it’s thin. Not meant for walls but I thought maybe I could make it work. That idea was good but a little too dicey and pricey. Then I spied super thin plywood at Home Depot and thought that also would be great. But then I had a real lightbulb moment and thought why not use the same white hardboard I used so many years ago to install wainscot in my living room and board and batten treatment in my son’s room.
I remember back then when I shared the material I used and some of you were like “shut the front door, you used what?” and I said “yep, dry erase board” otherwise marketed as white hardboard. The material has held up all these years so I used it again.
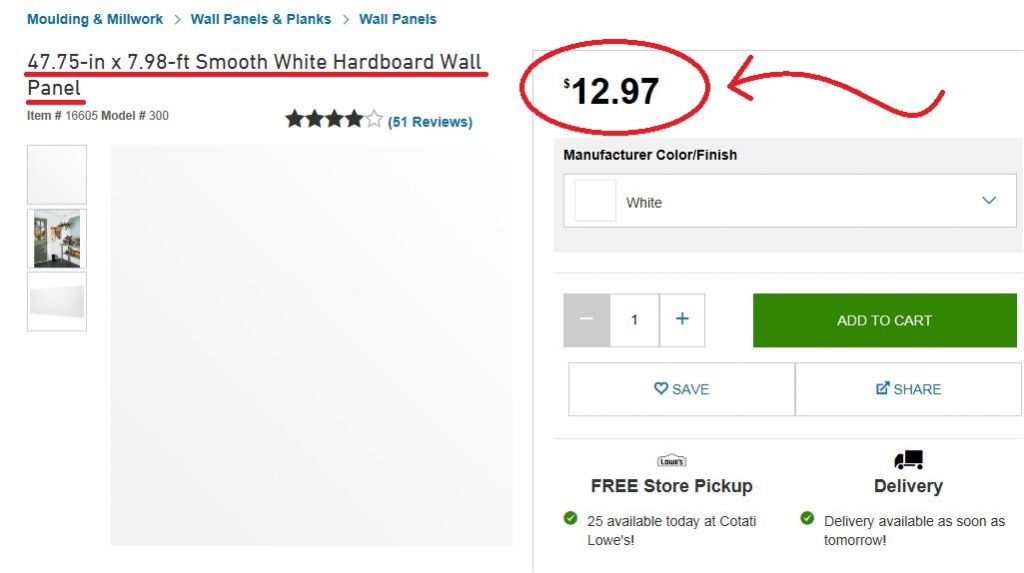
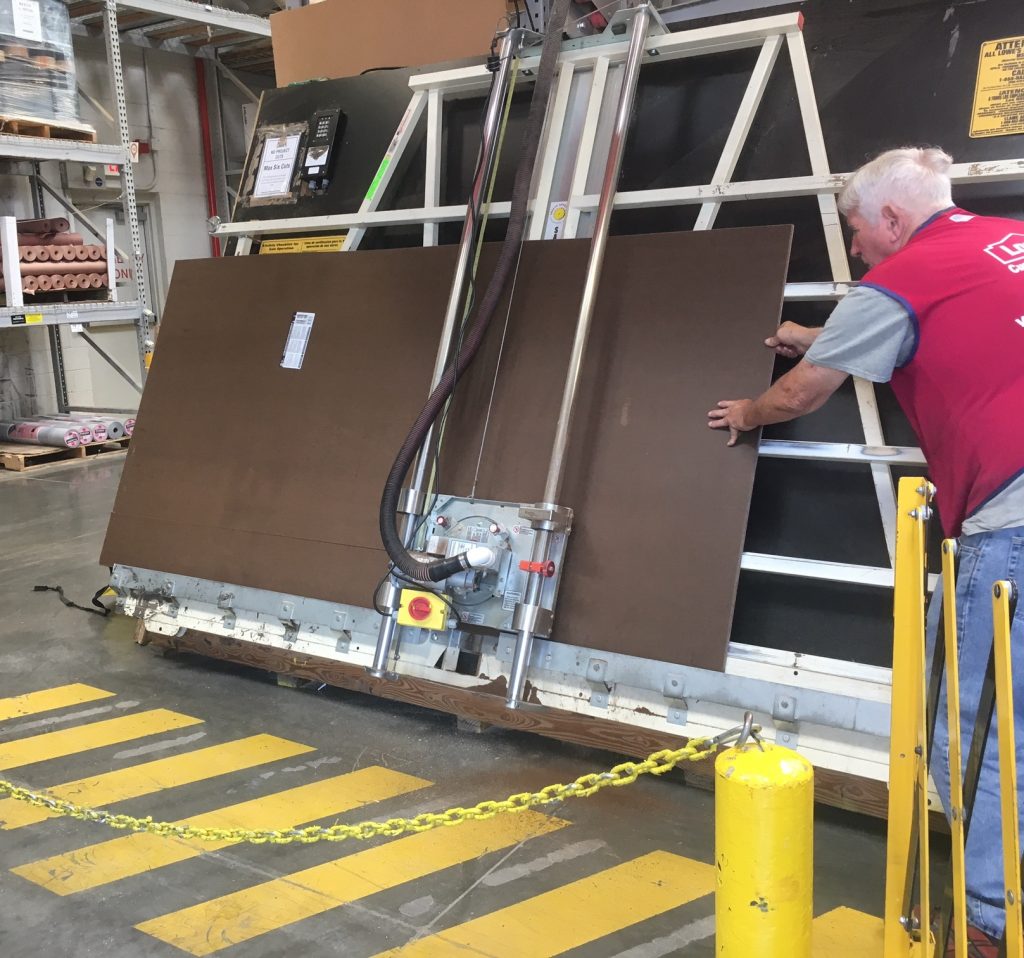
This smooth white hardboard is thin enough to sit on top of existing baseboard. It’s easily ripped with a table saw or trimmed with a miter saw, but it’s also a board you can cut into easily to work around outlets, window sills, and plumbing by using a boxcutter or Dremel or hole saw or jigsaw. And it’s so affordable. It costs just shy of $13 for a 4’ x 8’ sheet. That’s so cheap!!
Y’all know Lowe’s will cut wood for you. Sometimes they charge it’s their official policy so I understand, but I got lucky with a kind gentleman who didn’t charge me a cent for cutting three boards into 8” strips and he ripped all three sheets at the same time so it was only 5 cuts.
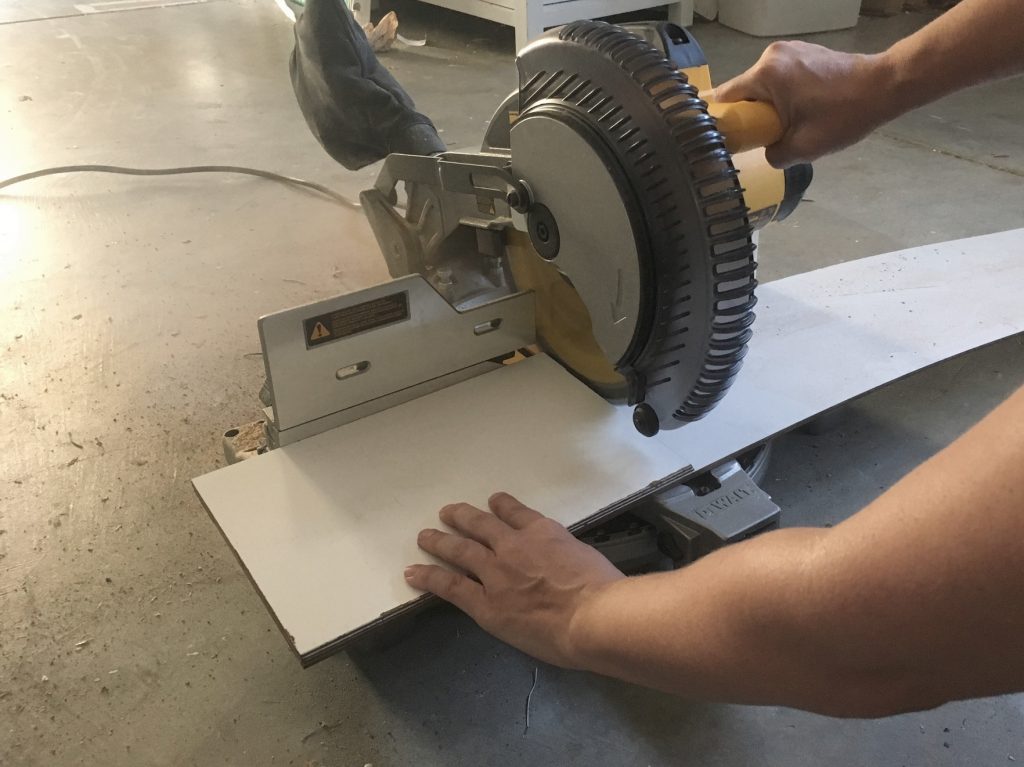
I brought them home and got to work. I measured my wall widths and cut each strip with my miter saw to fit on the wall.
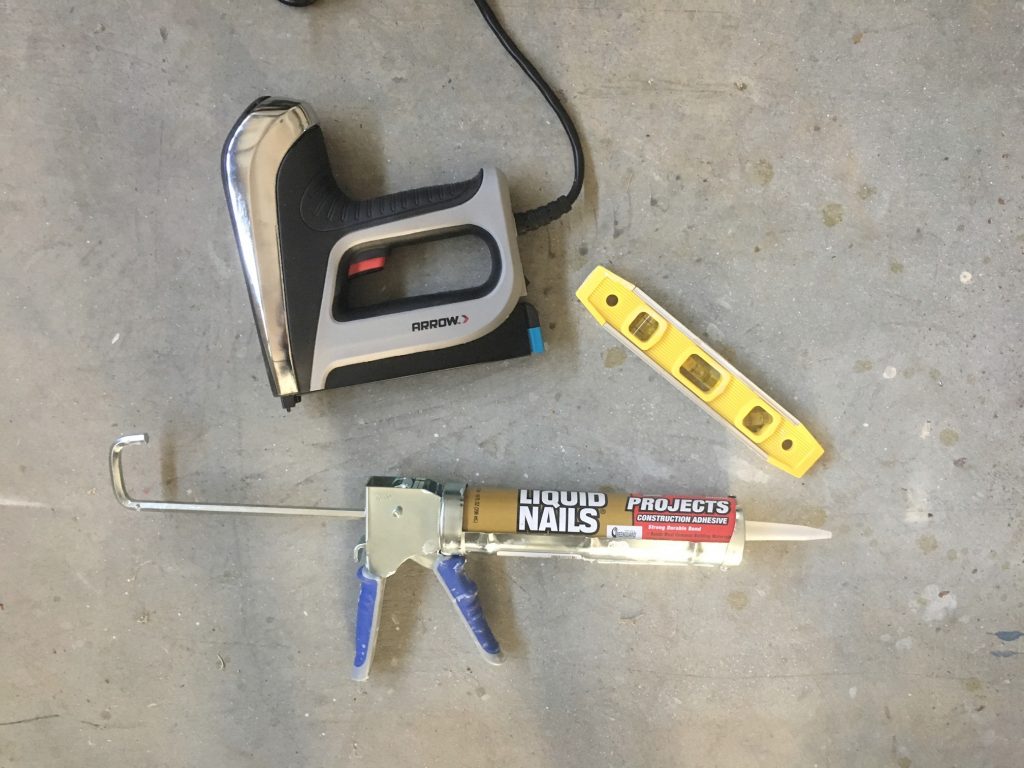
To adhere the strips of board to the wall, you’ll need adhesive and a brad nailer, and also a level to make sure you keep it perfectly horizontal as you work up the wall.
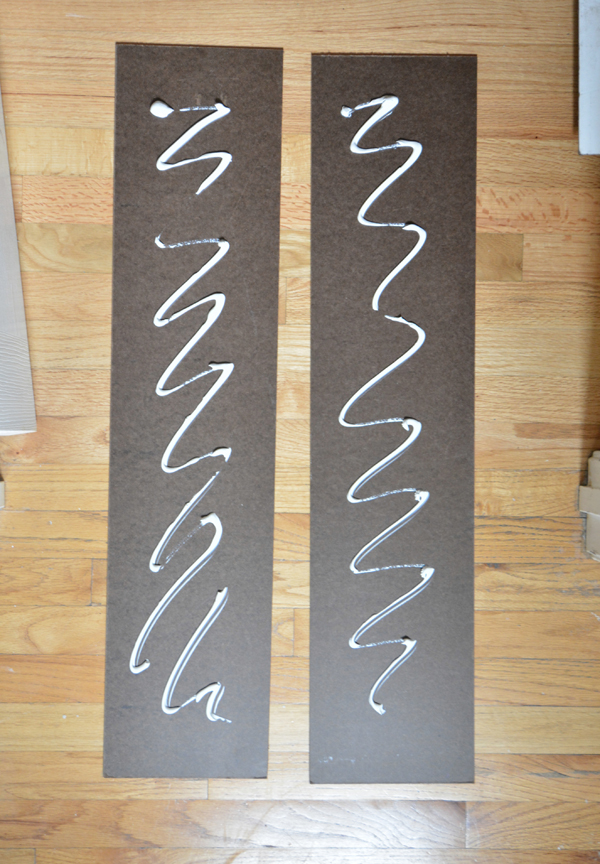
Apply the construction adhesive to the back, then follow up with 5/8” brad nails to secure it to the wall.
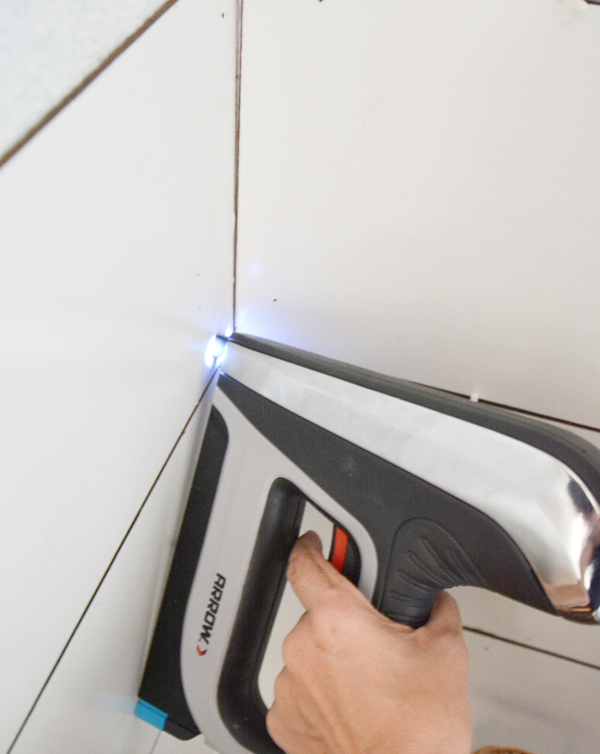
To create an even space between each board, I used 1/8” tile spacers. Other DIYers have used nickels as spacers, those work too.
![]()
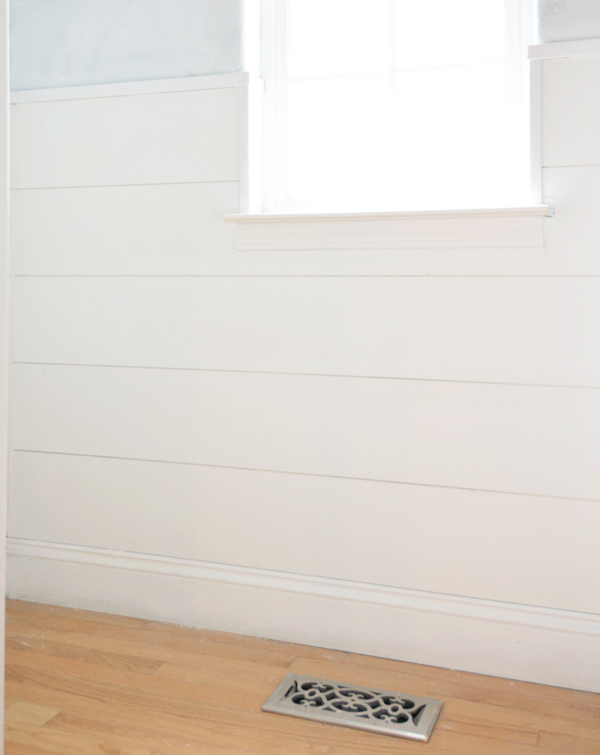
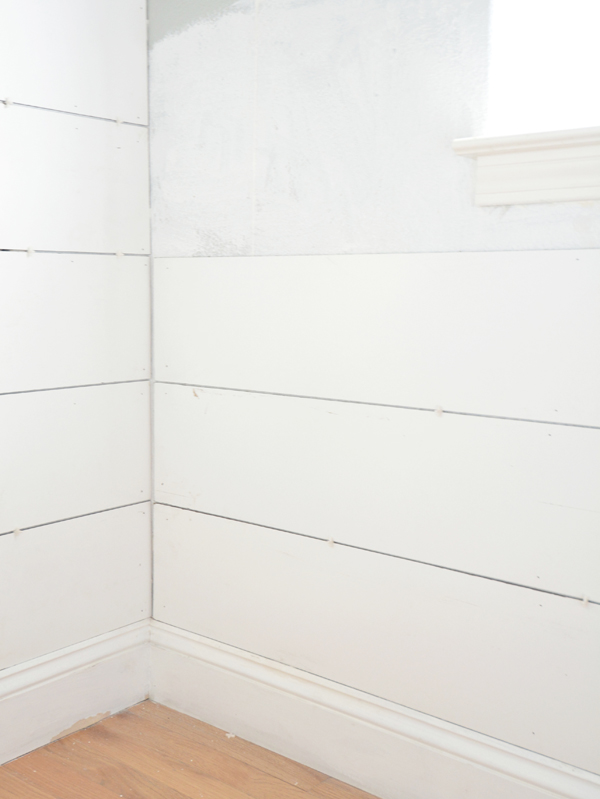
Where there are no obstacles on the wall, you’ll find the boards go up so quickly and easily and sit cozily on top of your existing baseboard. Use a level to make sure your boards are straight as you work your way up the wall.
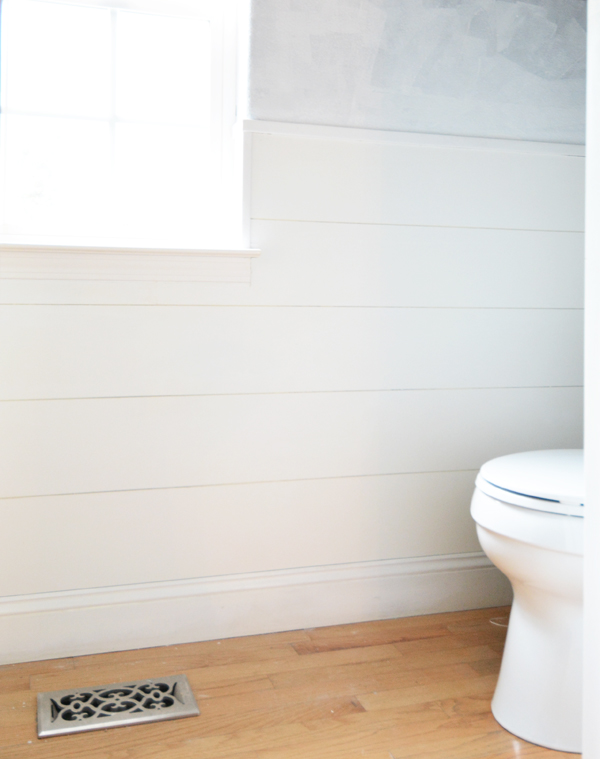
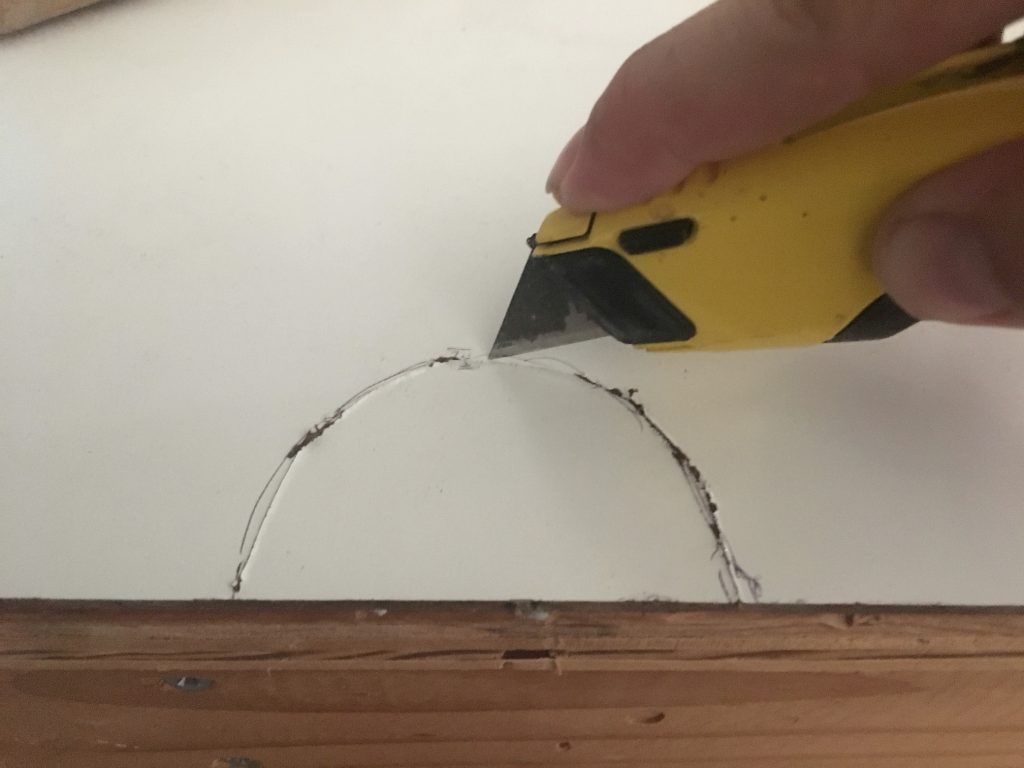
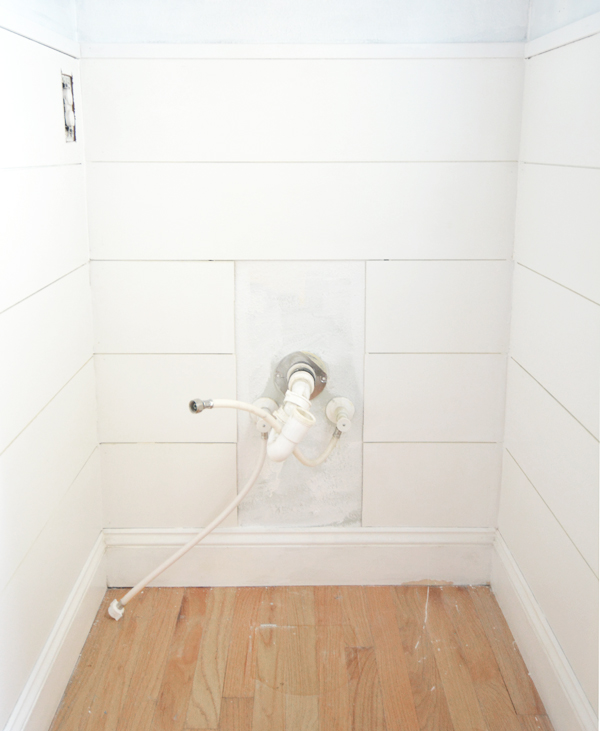
You will encounter obstacles if you have windows or electrical outlets or plumbing and you have to work around them. With this whiteboard, you can easily notch any obstacles with a good sharp boxcutter. (This was the section where I had to notch out the rounded plumbing connection behind the toilet.) You can also score the board with the boxcutter and then follow up with a Dremel for a more precise cut like I did with this tongue & groove project.
I also had to notch the board to fit around the electrical outlets and window. Here’s my flawed and imperfect notch job around the windowsill. It’s close enough! Nothing a little caulking and spackling can’t cure. :)
Because you’re adding white board to the walls, with outlets you’ll need to expand the distance so they sit flush with the plate. That’s where these spacers are necessary, find them at any home improvement store. They extend the outlet so it projects out and sits flush with the plate on top of the shiplap wall treatment.
![]()
![]()
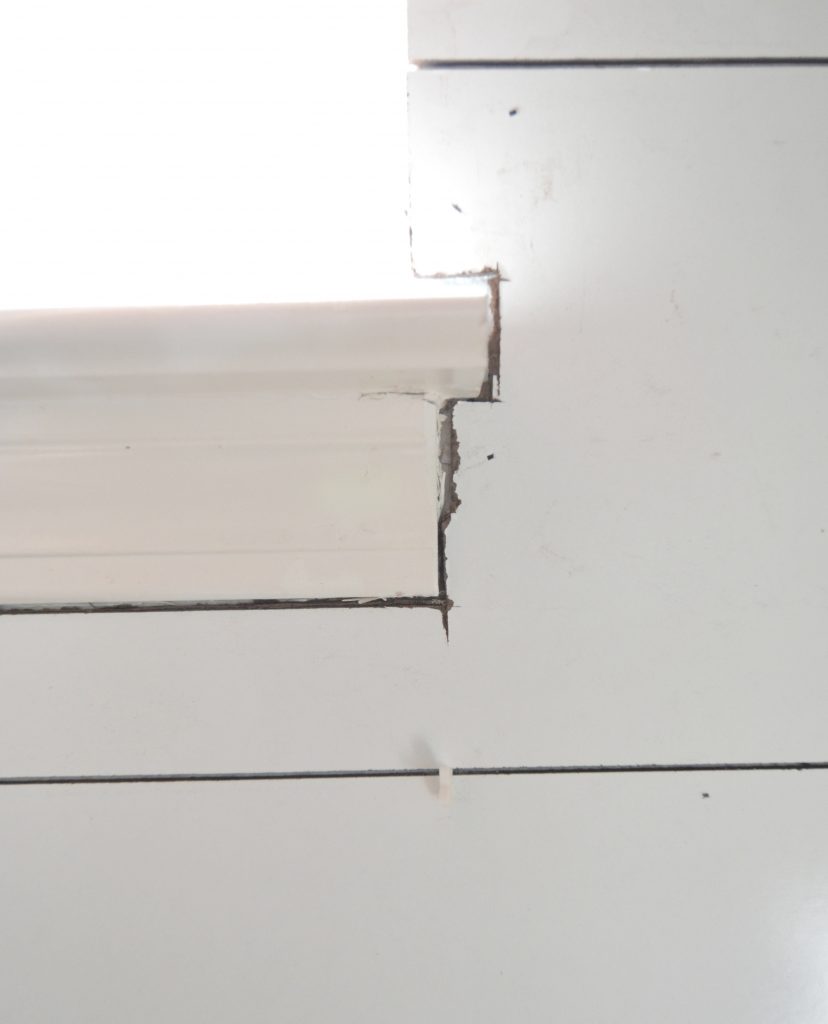
One more little problem, in my house the windowsill has a rounded edge so I was only able to get the boards to meet within about half an inch, and it left a serious gap. See how I solved it below.
![]()
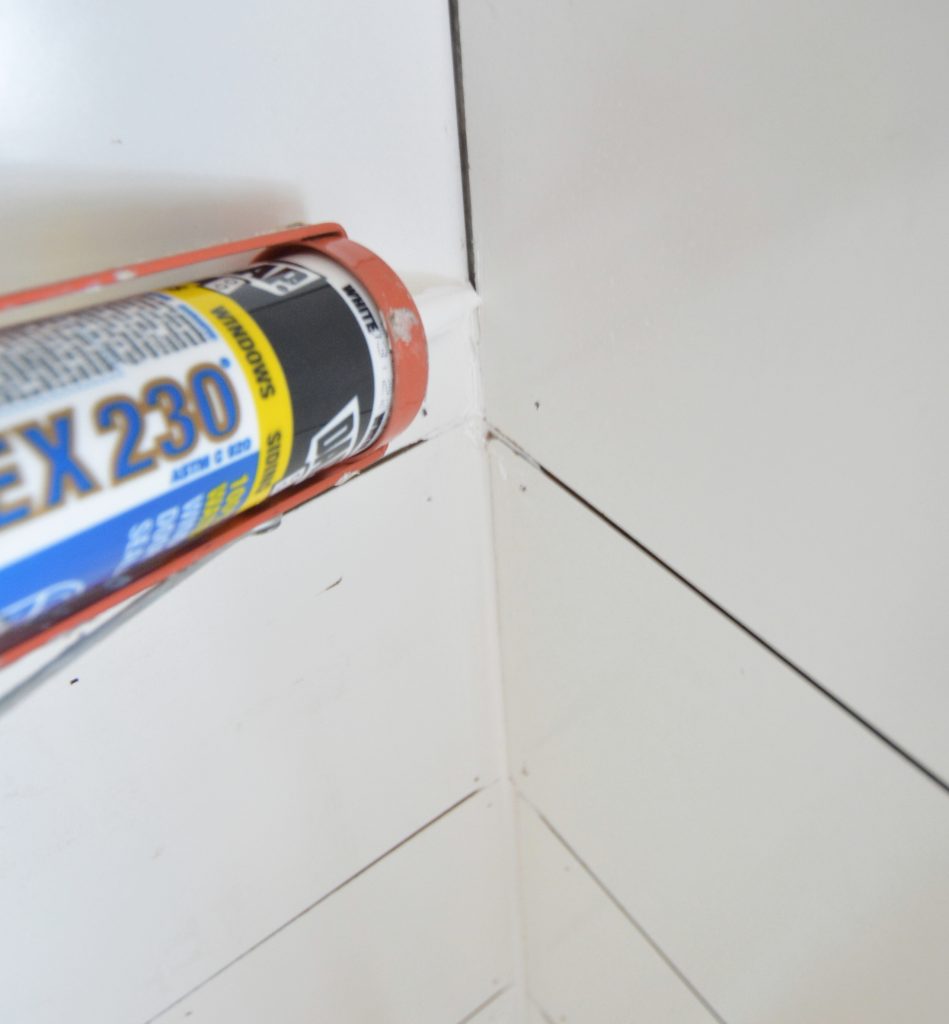
Once the boards go up, use quick dry paintable caulk to fill in the gaps in the corners where the walls meet.
I bought two different kinds of trim to finish the edges of this project (both purchased at Lowe’s). I used straight edge molding to sit on top of the shiplap and corner molding to cover the exposed rounded edge next to the window.
![]()
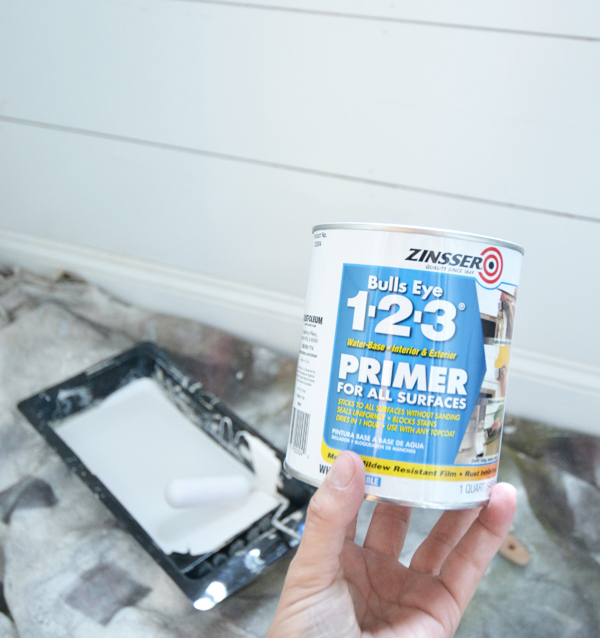
Note because this whiteboard is essentially dry erase board it has a slick surface so to paint it, you’ll first need to prime it. You could skip a step and use a primer + paint combo but I hesitated to do so because I rely on a straight up primer designed to cling to slick surfaces. I like the Zinsser Bulls Eye water based formula, I’ve used it for years. Easy to apply, quick to dry, and it cleans up with water.
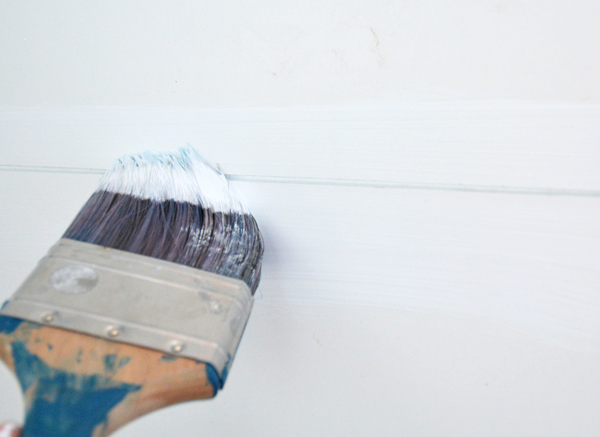
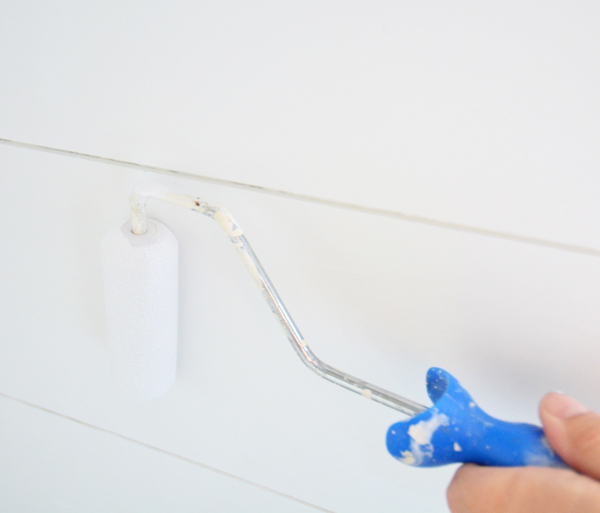
Fill the crevices with a paintbrush and smooth the primer with a foam roller to eliminate/prevent brush strokes.
Now your shiplap is ready to paint! Keep it fresh white or add color, totally up to you! Easy and cheap, my favorite kind of DIY project. :) Here is how I wrapped it around the plumbing, there’s a new cabinet vanity going in here, and I’ll pull that back baseboard off so it sits flush to the wall.
Supplies used: 3 sheets of whiteboard, cut into 8” strips; miter saw, brad nailer, level, construction adhesive and caulking gun, paintable caulk, spackling, tile spacers, outlet spacers, water based primer, paintbrush, foam roller, thin molding for trim.
See the full powder room refresh and painted shiplap by following this link:
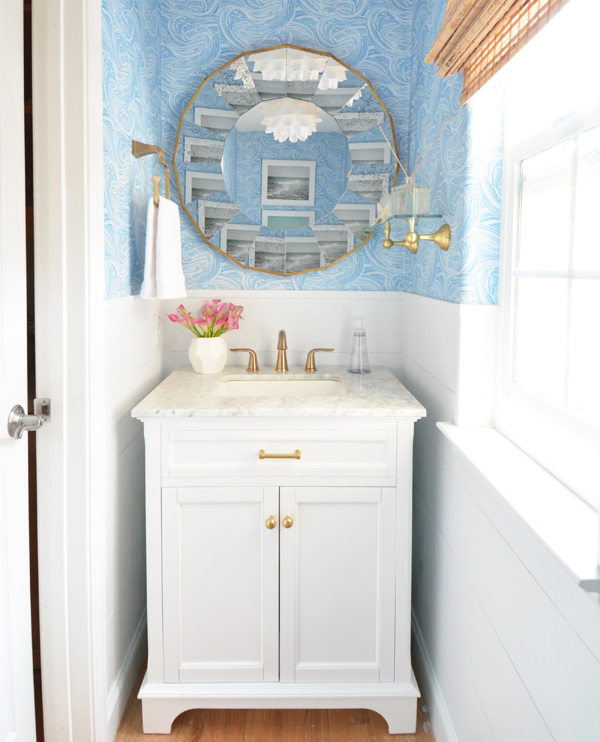
.

Thank you for the great tutorial!!
I have loved this look forever and now you just made it more doable and affordable, thank you!
I’d love to do this on one wall in the entry. Can I just find studs and nail? I really don’t want the permanence of adhesive. Thanks. Always love what you do and appreciate your clear explanations.
Thanks for the great tutorial Kate! Will definitely be referencing it in the future!
Hi!
I have a question for anyone (or you) that has shiplap in there home! How do you keep the cracks clean and dust free? I have a beautiful antique white headboard that actually features ship lap and constantly have to clean the crevices with an old tooth brush (vacuuming doesn’t seem to get it out there oddly enough!) Since it’s white, you easily see the dust build up. I can’t imagine doing that to an entire wall, let alone 4 in a room! I can’t seem to find the solution to this anywhere online. Feed back so appreciated!
Great question Kassie, I would think a mini feather duster or a mini vacuum like those dustbusters? I’m also curious of the best way to remove dust :)
Wow, what a great tutorial. You’ve definitely made me feel like this is a more do-able project. Thanks!!
Haha…I love that comment you got, AND I love your response. What a clever idea to use whiteboard! I made a shiplap-inspired headboard in the spring using underlayment, which proved to have it’s own issues. (But I still love it) To answer Kassie’s question – dust in the crevices hasn’t been much of an issue for us. though a good vacuum attachment with brush should work well.
Thanks Leslie! I also found that if you give it two good coats of paint that helps fill the crevices a bit to avoid dust settling too deeply. I also used a thin flat head screwdriver and ran it in between the boards after they were painted to keep the thickness of the paint between the boards even.
Has anyone tried to adhere this over tile? I have the ugliest tile in our bathroom and would love to cover some of it up…
Kate, you are always inspiring me to better my own home. Beautiful job here. Please forgive me if you’ve already addressed this question, but I can’t find anywhere where you give the info on the white paint you chose for this powder room, or your fireplace hearth/wall moldings. I love the cool crispness of it. Would you please let me know? Thank you!
Awesome your post. I love to make one. I think with your complete guide, it is so easy to me although my woodworking skill is not good enough.
Thanks Leslie! So easy to make shiplap right? I love its cool crispness.
I love to decorate my rooms with DIY decorating products. Your cheap and easy DIY shiplap tutorial will help me a lot. Thank you for sharing it.
That straight edge moulding you used at the very top… where did you find it? I’m having a heck of time finding something low profile to top my partial “shiplap” wall. Thanks! Love the inspiration!