We’re making progress in the flip house and the latest project completed was a big one, the floors! For this installation I chose a wood lookalike waterproof vinyl floor and partnered with Armstrong Flooring to do it after I fell in love with a sample of their luxury vinyl flooring products.
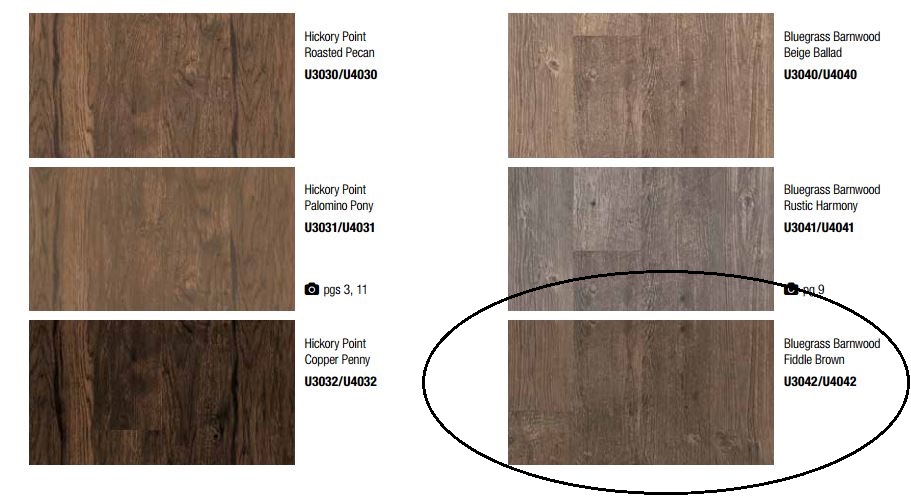
The color I chose was Bluegrass Barnwood Fiddle Brown in the Vivero Luxury Vinyl Plank line and I was so excited to work with this product!
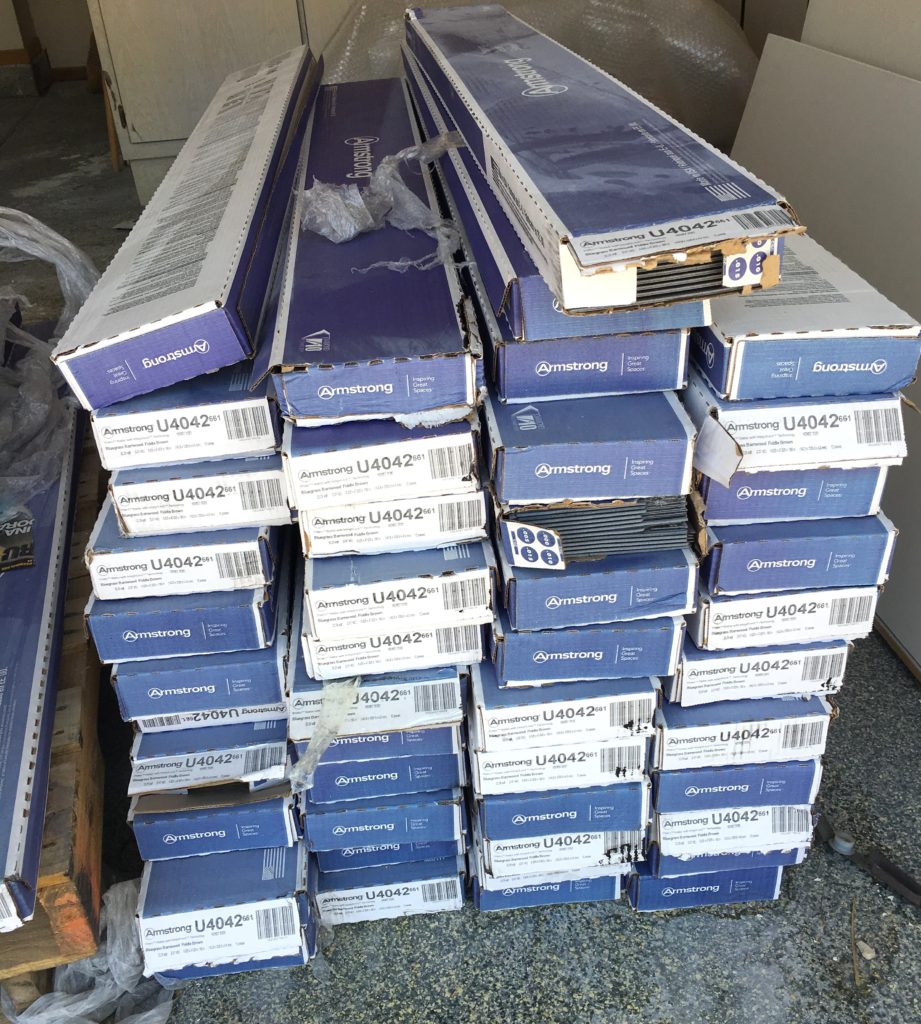
This flooring resists dirt, scuffs, and staining and is made with Diamond 10 Technology, an exclusive manufacturing process that makes Vivero extremely durable. The flooring arrived by truck, but before we could install it we had to remove the old carpet and tile and prep the floors for the new planks.
This particular luxury vinyl plank product installs over most subfloors, and with Armstrong Flooring’s IntegriLock™ System no glue is required, it’s a floating floor, one that you can install yourself.
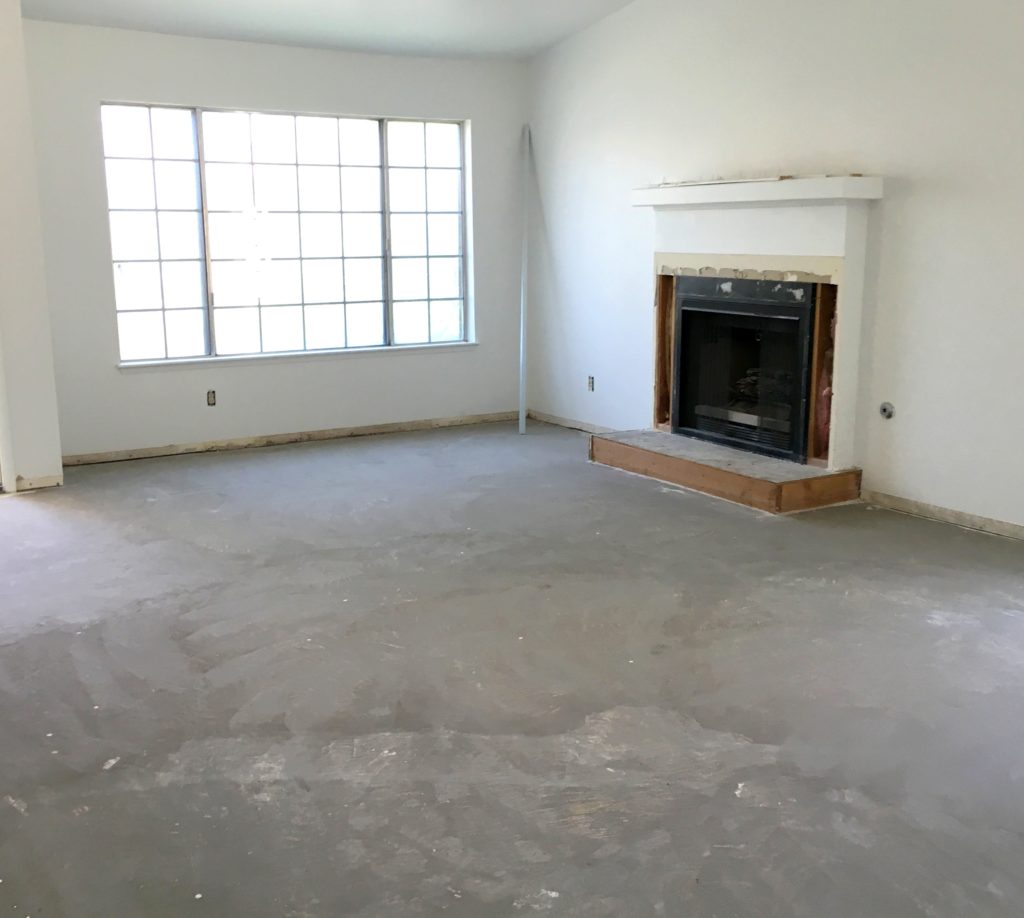
Once we pulled up the carpet and tile we were left with a floor covered in old glue and carpet remnants and the subfloor was full of cracks. The situation was pretty bad, and nowhere near where we needed it to be to lay down a seamless plank floor by ourselves. *Sigh*. Prep and installation wasn’t something we could handle alone on a 3 day visit so we decided to bring in help.
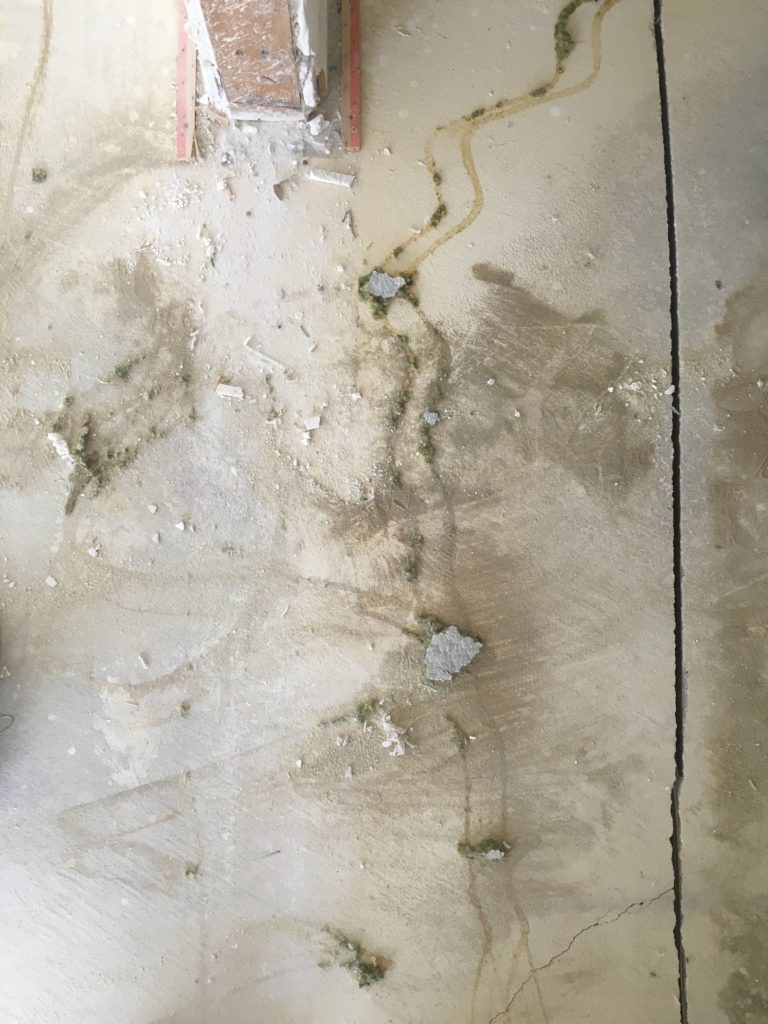
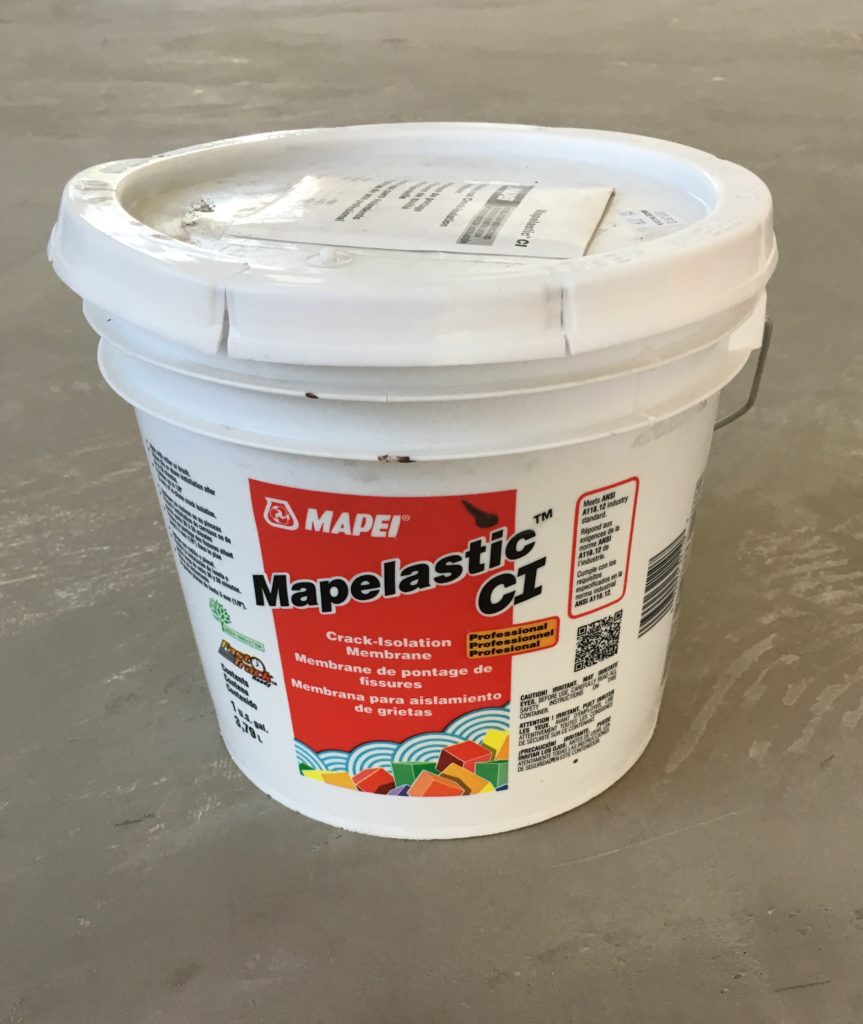
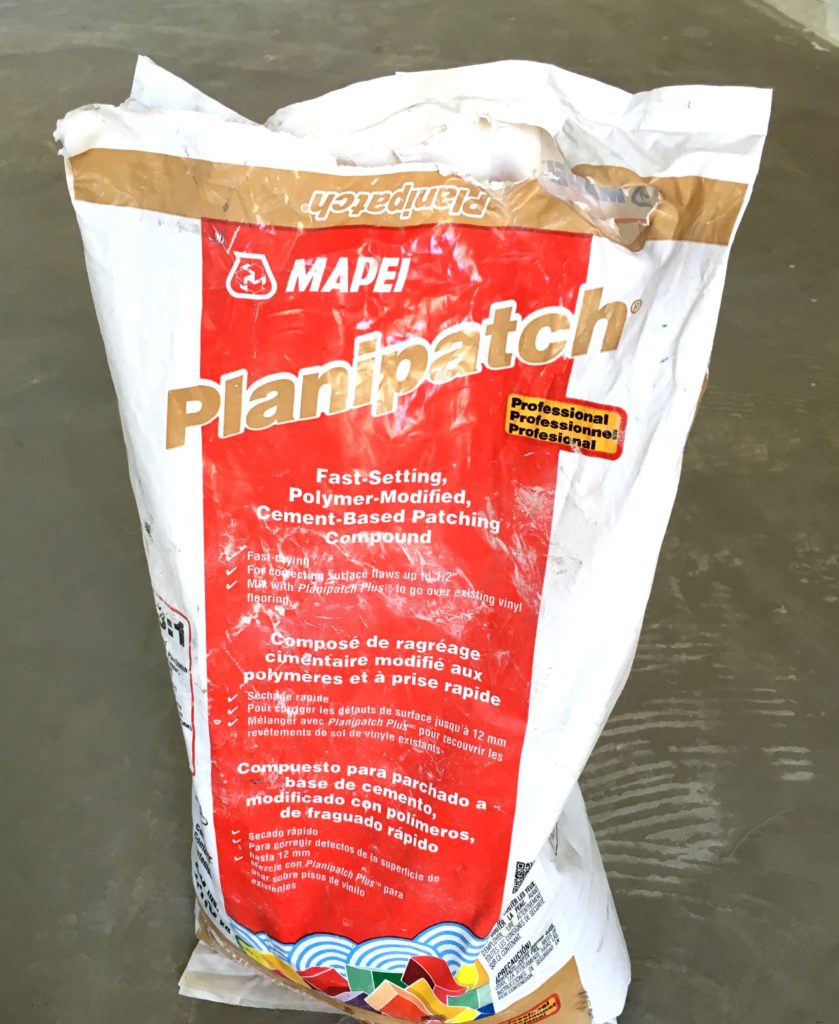
We hired a subcontractor to help us get this job done right. To prep the floors for the luxury vinyl planks, our guys used two products to fill the cracks and smooth the cement slab foundation, one is a crack filler the other a cement based patching compound to ensure the floors were level and smooth.
Here’s a look at the flooring that was there when we bought the house, dated ceramic tile and smelly stained carpet. I wanted to use consistent flooring throughout and a wood look product that would be both durable and waterproof so I could use it in the kitchen, which is how I ended up opting for luxury vinyl plank.

Here’s a peek at the living room space after the subfloor was prepped with the crack filler and compound.
They started in the front corner of the house by the front door and worked with a staggered pattern. I was debating between flooring patterns but decided on the classic installation instead of diagonal or herringbone since this house is being remodeled solely for resale and I concluded this vertical pattern would appeal to the widest market.

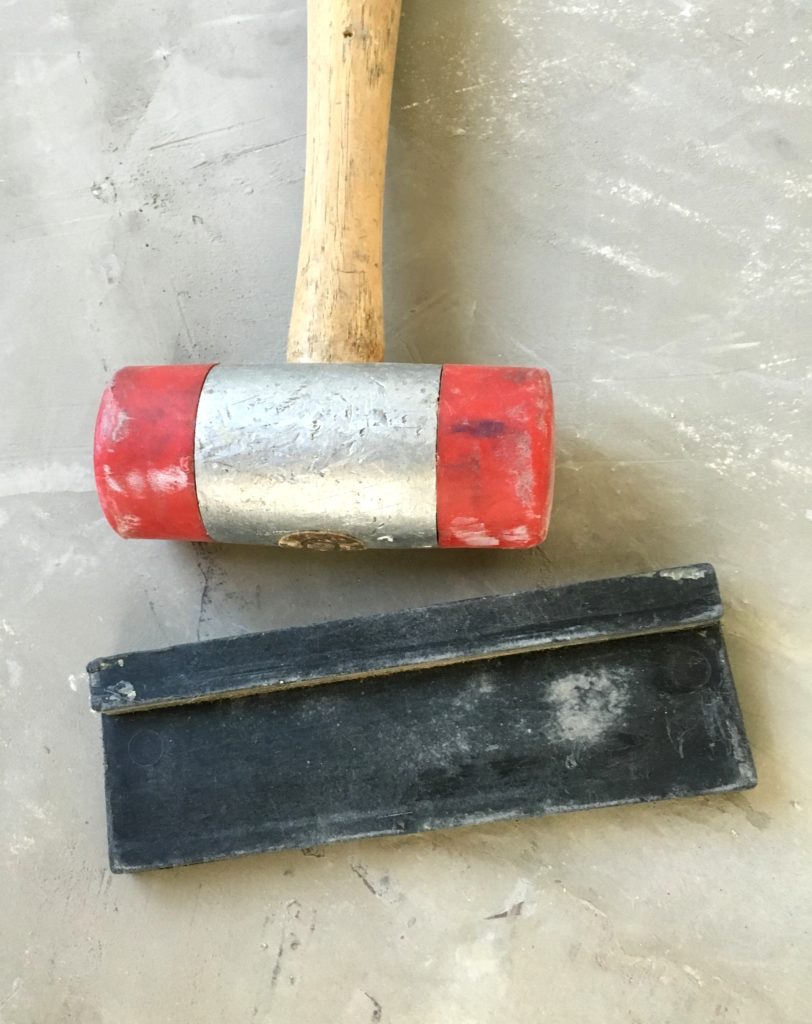
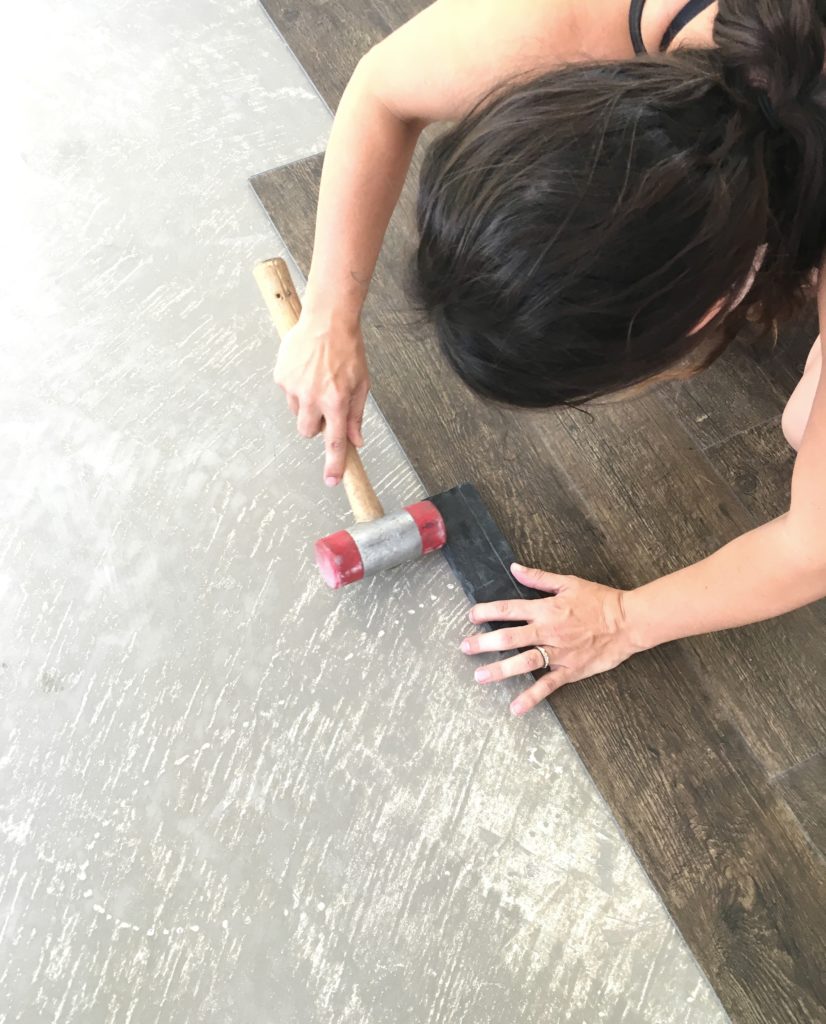
I was watching the installation carefully because we’re installing very similar flooring in our studio in California in just a few short weeks so I needed to learn how to do this! The guys used a wedge tool and mallet to ensure each groove fit each surrounding plank for a seamless finish.
To cut the vinyl planks they brought a tool with a sharp blade, they called it a “guillotine blade” but online it’s referred to as a shear flooring cutter for vinyl and laminate flooring.
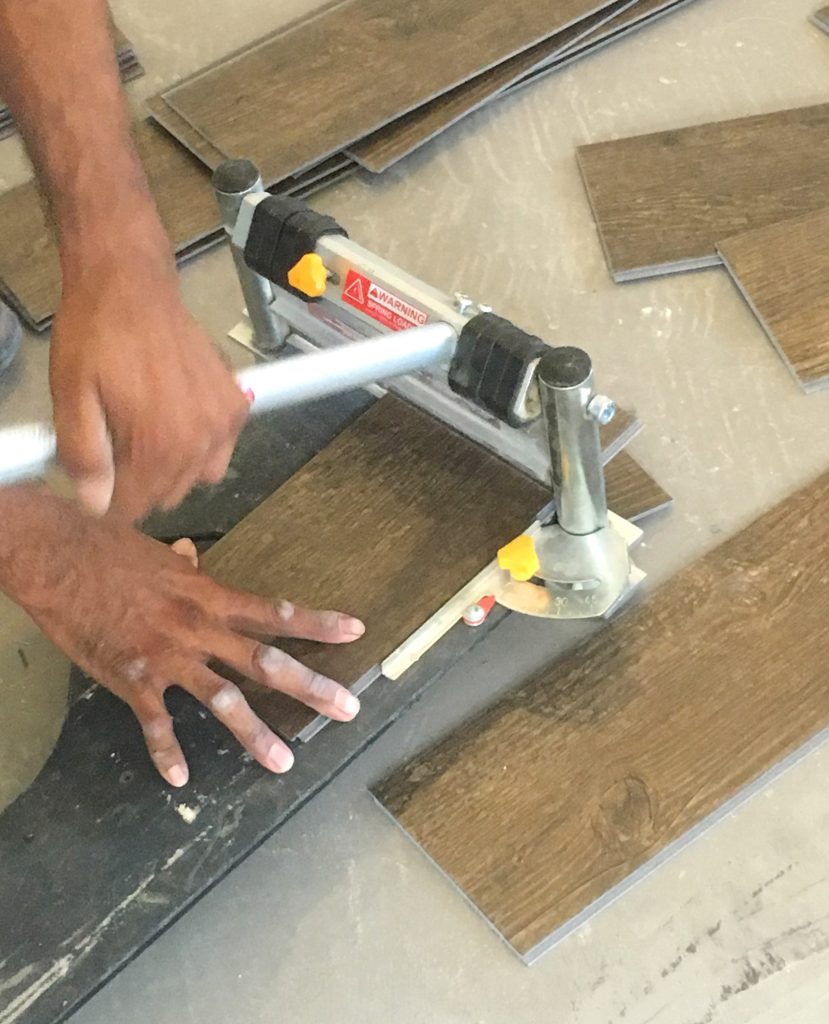
After a few planks, I got the hang of it!

I’ll share pictures of the finished floors soon, they look so beautiful!
*This post brought to you in partnership with Armstrong Flooring, thank you for supporting the brands that support this blog. All opinions are my own.


We are in the middle of a very difficult situation with our Armstrong Vivero Vintage Timber with Intergilock. The ends of almost every plank peak and do not lay flush on one side despite a flat plywood subfloor. So one corner is raised and catches anything that goes across it. We have had it inspected by another installer, the retailer and the distributor. All have said it was installed correctly. We have even tried a replacement box from Armstrong and it has the exact same issue.
Is there anyway I could connect with your installer to see if there is a trick that would fix our problem? I’m particularly interested in his wedge and mallet approach.
We have to move out by 9/1 and trying to resolve this nightmare. The claims process is very slow and we can’t wait while we are without a home. This might make a HUGE difference in our lives.
Glad your floor worked out great.
Thanks.
Hello SF I’m so sorry you’re having a major problem! Out floors were perfectly smooth with no rippling because our installers used those tools – there are virtually no seams, they are wedged so tightly together that mallet and wedge tool did the trick.
I’m so glad you’re reviewing this product line! I’ve been checking your blog daily for a post ever since you mentioned that you’d be installing vinyl planks. I think they’ll be the most logical choice for my open floorplan, though I am sorry to say goodbye to a beautiful walnut hardwood I had my heart set on.
Anyway, I have 4 questions about the Vivero line, if you can help:
1) Can you put down an underlayment so that it sounds more substantial like hardwood, or is it unnecessary? I’m also installing on a slab foundation, and I don’t want a hollow clickity clack sound that will give it away as being “fake wood”.
2) How are the VOCs? Does it have a smell or off gas? I’m concerned about it health wise. We’re wanting cleaner air in our house, because of allergies, so we’re removing the carpeting and I’d hate to replace it with something that has its own indoor air pollution.
3) I know some vinyl plank products fail and the planks separate in heated or sunny areas. How does this line fair in front of big windows in the heat? I’m hopeful the interlocking mechanism has solved this problem, but I think I read the product can’t be above 80°?
4) Do you notice the telltale waviness in the planks that you normally have with vinyl? Or a little bump where the plank is over a speck of dirt? These are the things I’ve noticed when the light catches other vinyl planks.
Thanks for bearing with me! There’s practically no reviews for this product online because it’s so new. So, I’m excited to get your opinion because you have a great sense of style and practicality! Thanks again!
Hi Alicia!
These are great questions and we apologize for the lack in reviews! This product was launched early this year and it’s really taking off!
1. With the new Vivero Collection line you don’t have to use an additional underlayment; however, you can if you choose to. Our S-1840 Luxury Vinyl Underlayment can be used with the locking or glue down. If you are using the new integrilock system you can float the S-1840. If you’re doing the full spread application the S-1840 should also be glued using our recommend adhesive S-288. The S-1840 is a great acoustical barrier for through- the- floor and in room footfall noise reduction.
2. The Vivero product is a low VOC product which can off-gas during installation and should dissipate over time. I have provided the FloorScore Certificate below. During any new installation a well ventilated area is recommended. http://www.floorexpert.com/servlet/fileField?id=0BE610000004DoN
3. During the service life of the floor, the temperature should never fall below of 55 degrees F (13 degrees C). The performance of the flooring and the adhesives can be adversely affected below this minimum temperature. We also recommend that if you’re installing this material in direct sunlight and if it will be exposed to an abundance of sunlight each day that you glue down that specific area with our S-288 adhesive. We would also recommend using drapes and blinds if material is in direct sunlight.
4. This material repels dirt and water making it easier to maintain. The waviness you see might be the texture of your particular product and the material should not be installed over any dirt particles.
I have provided the full installation for you below.
http://goo.gl/6cMvqs
I sincerely hope I have answered all your questions to your expectations. Please let me know if I can assist with anything further!
#AFI
Vinyl flooring has come a long way baby! I’ve seen it in homes of friends and have been amazed and impressed by how it looks, feels and holds up against wear and tear. I think it’s losing the stigma that it once had – it’s not your mom’s vinyl flooring. ;-)
I love your blog and your flooring. I am in the same situation as Alicia. We are pulling up carpet and replacing with luxury vinyl planks or laminate flooring. We have a concrete slab as well. I have heard different horror stories and am totally confused. Any information from anyone would be appreciated!
I have installed vinyl flooring in our home and I *love* it.
@Alicia…my vinyl flooring product was a peel and stick 6×48″ product…similar to http://www.lowes.com/pd/Style-Selections-6-in-x-36-in-Driftwood-Gray-Peel-and-Stick-Rustic-Residential-Vinyl-Plank/999957677 but longer. It does not have the hollow sound that laminate flooring has. (we have laminate in our kitchen at the moment and I can’t WAIT to tear that stuff out of there.)
We did have to make sure that the floor was clean and smooth before putting down the new planks. The click-lock version above is thicker, so it might not be as particular, but it really wasn’t difficult to do the floor prep, vacuum, and then sweep each area with a whisk broom before laying the planks. Because my floors are laid on wood subfloors, I did take the extra time to screw down squeaky areas to the joists and used auto body filler to smooth out any areas where the subfloor was slightly wonky. Auto body filler is relatively cheap and because it’s a chemical cure, rather than “drying”, it sets up fast and sands easily, yet is flexible and durable. (it works great on school projects that require building models too…just sayin’).
We have a dog, 5 cats and 3 ferrets. Ferrets spill drinks and are sometimes stubborn about litterbox usage. I can clean it easily with some all purpose cleaner. My 19 year old daughter does not completely dry herself off with a towel after showering and walks down the hallway like a swamp monster. No damage whatsoever. It wipes up easily with a mop. I have 2 more rooms to lay flooring in and will be using the same stuff now that I’ve experienced vinyl flooring planks first hand.
We are remodeling our lake house. We purchased this home out of foreclosure and it is a disaster! I have been waffling between real hardwood and the vinyl. We have another lake cottage that I put it in 4 years ago but want a better quality this time. I have 9 grandkids that are in and out of the water continuously! Thoughts?
I really enjoy your blog. I have also been going back and forth about the type of new floor to put down. The new vinyl plank flooring is so tempting, but after reading some of the cautions listed in the literature for some of the different vinyl products, I began to wonder if it would hold up to an electric wheelchair w/ a 200-pound man going over it continuously, especially if some are prone to rippling. Tile is rated so you know before putting it down if it can handle commercial abuse, etc., but is the vinyl rated the same way? Also, (being animal lovers) we decided to put down Mexican terracotta tile in almost 90% of our home. Can the vinyl “floating” tile be installed over it? Since my husband is handicapped I end up doing most the work around here by myself. The thought of pulling up (and cleaning up) so much existing tile exhausted! :)
How did you remove carpet adhesive? My carpet does not leave carpet backing, but the adhesive is on the slab throughout. Can the planks be put down over the old adhesive?