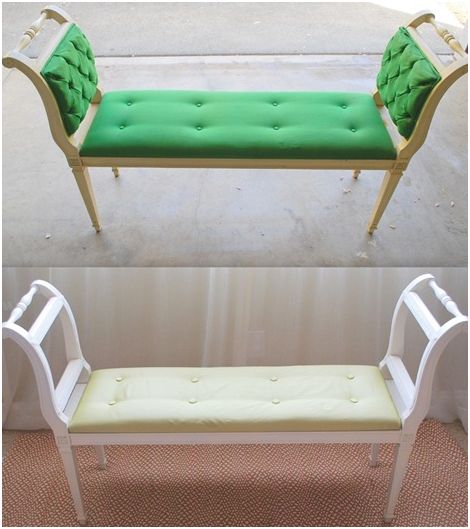
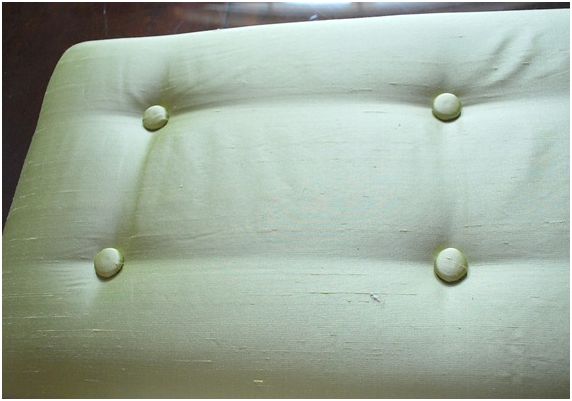
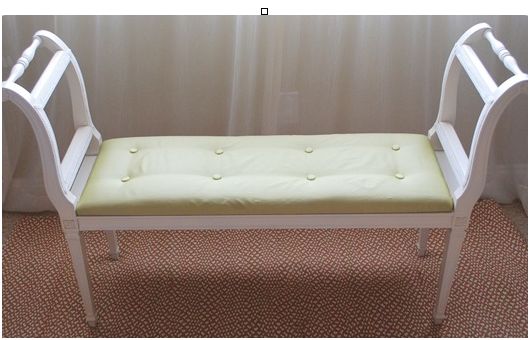
Last week, I picked up this dowdy bench with really great lines at a local thrift store. It was $12. I transformed it this past weekend with fresh paint, a bit of silk, and some custom fabric covered buttons. If you want to know how to create a custom tufted seat, follow the tutorial at the end of this post.
Here’s the Before and After:
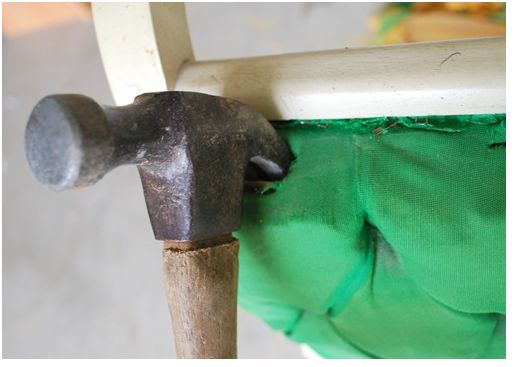
The first thing that had to go was the original fabric. Ewwww. The bench seat was easily removed with a screwdriver, but those side cushions were another story. I thought they would simply peel off with a little tugging. I was way wrong. I had to take the end of a hammer to them, and the inner stuffing completely disintegrated in the process. Pliers were necessary to get the green fabric off.
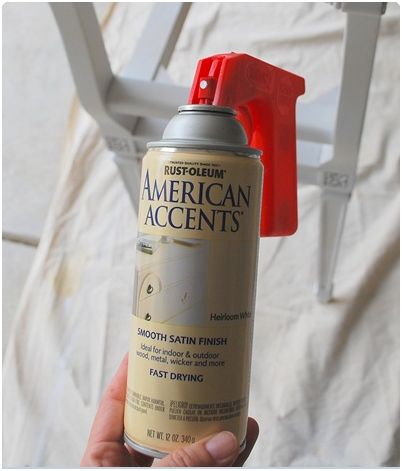
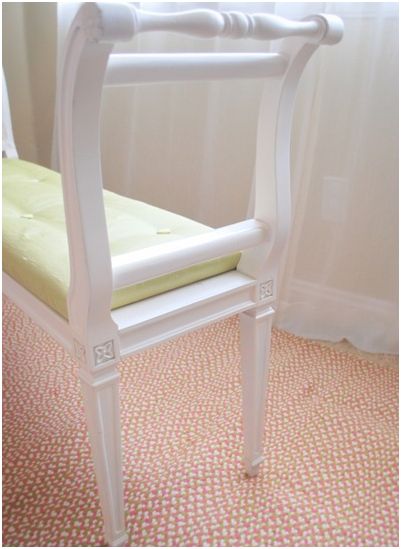
The paint had yellowed, so I decided to prime it and give it a fresh coat of white paint. Then I gave it a good coat of spray paint in RustOleum’s ‘Heirloom White’.
Once the bench’s wood frame was completely painted, I recovered the bench with some fabric and a staple gun in some pale green silk. [That’s “lemongrass” colored silk from Joann’s Fabrics – it was on sale for $8 for 2 feet.] Note: If you are tufting a cushion, make sure you drill your holes through the seat cushion before you cover with fabric.
Tufting Tutorial for a Bench or Cushion
Supplies:
- Screwdriver to create holes in seat cushion
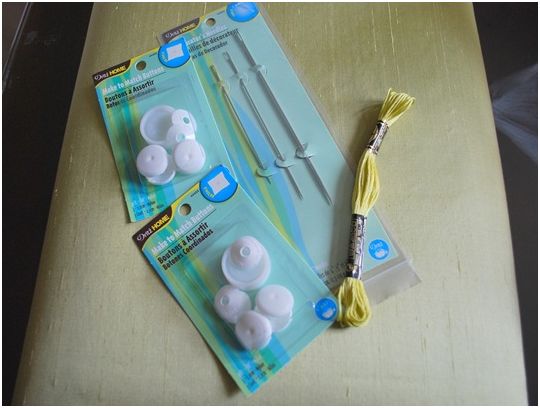
- Long needles (called Decorator Needles) from craft store
- Thin twine or embroidery thread (regular sewing thread is not strong enough)
- Button cover kits
- Staple gun and staples
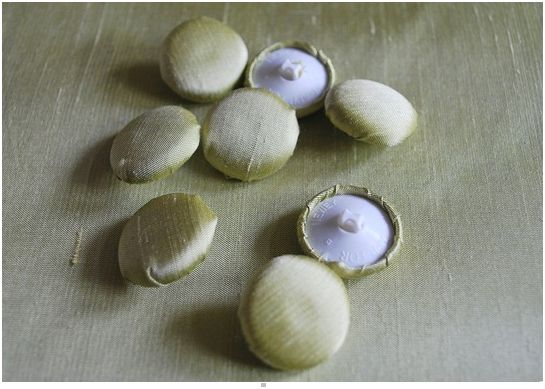
Once the bench had been covered in fabric, I created the custom buttons with the scraps of silk leftover and some custom button kits. These kits make it very simple to use your fabric of choice to create custom buttons for tufting with the same fabric you use to cover your seat cushion.
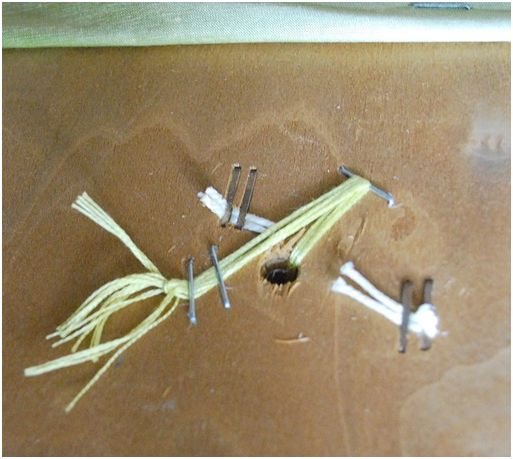
Thread your decorator needle with the thin twine or embroidery thread. Push the needle up from the bottom through the pre-drilled hole. Once you come up on top of the cushion, thread your needle through the button. Push the needle back down through the hole and pull button tight to fabric to create desired amount of tufting.
Use your staple gun to secure the thread to the underside of the cushion. Staple the thread once, then pull the thread in the opposite direction, and staple it down again. Secure with a knot.
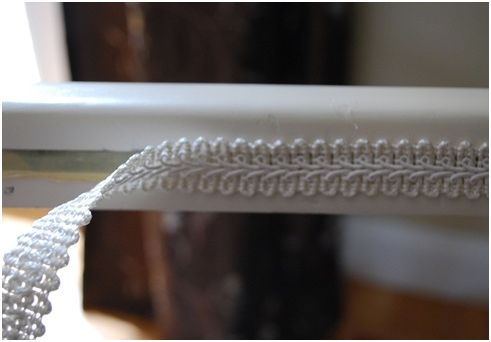
One final problem with my bench was covering the marks from those previous side cushions. Rather than creating my own side cushions like I did here and here, I chose to keep the sides open and airy. I covered the marks from the previous cushions with hot glue and some simple gimp trim.
Bench $12, Primer and Paint $6, Fabric $8, Button Kits $7, Needles $4, Embroidery Thread $1. Total = $38 Isn’t it amazing what a little paint and fabric can do?
Isn’t it amazing what a little paint and fabric can do?





Brilliant, my dear – absolutely Bee-u-tee-full!
amazing amazing amazing!! You truly are inspiring and I hope now that the weather is warm I will put some of your inspiration to good use! :)
I love the new version. I wish I could find nice furniture like that at my local thrift store!
You are absolutely amazing. That is gorgeous!
You rock! I would have never thought to loose the padding on the sides completaly. I’m so glad I found this blog!
Wow! What a transformation you did. I love it without the puffy sides too!
Gorgeous! You completely transformed that little guy into a total beauty!
That is one amazing revamp of the old bench!
This is too good. TOO GOOD!
Amazing properties those cocktails have, lol! Beautiful job!
Amazing!!! You have the best luck thrifting!!!
Gorgeous! I have Heirloom White and it such a pretty soft white color. I am using it on my kitchen table and chairs. :)
Holy cow, I love this! Awesome job!
And I’ve never seen anything like that little attachment for the spray paint can. Genius! Thanks for mentioning that.
Oh my, what a transformation.
You’re good! I love it.
Oh crap! That looks fantastic! My thrift shops never have anything good like that!
I’ll trade you my table redo for your bench redo.
Great work! :)
WOW! You find the best stuff and you make it look SO pretty. Love that! I’ll be linking.
What a fabulous job you did here! Great tutorial too.
Yuck, Ick, Blech! I’ve said it….now I’m saying “Bravo!” “Brilliant,” as Simon Cowell might say. Am getting ready to make a vanity seat. Will use this technique for sure. Love it.
AWESOME!
REally, REALLY amazing! I love the idea to keep the sides open too! bravo!!!
Wowza! What a comprehensive and great tutorial! I’m LOVIN’ it over her…staying for awhile if you don’t mind!
You must have awesome thrift stores, your makeover is fantastic…………great instructions.
Why oh why was I born without a creative bone in my body… or if there is one I haven’t discovered it yet!! Great job, keep ’em coming!
That looks amazing. I love all the details!
Wow! You did a great job on this. Love your blog!
I am loving this completely. I tried oh so hard to find something to DIY at a local flea market with no avail. I am not a quitter though. Until I find that perfect piece… I’ll just continue to covet your pieces!
I want your thrift stores near me.
Edit: I want your thrift stores near me, and I want the time to visit them and find buried treasures for next to nothing.
Edit: I want your thrift stores near me, and I want the time to visit them and find buried treasures for next to nothing, the eye to see their potential, and then the skill to make it all happen once I get home.
Edit: I want you to move in and do things like this for me.
i am impressed! i am bookmarking you right now! =)
I love it….. I want your thrift store by me because the thrift store by me is blaaaa…
Thank you, you have given me tons of inspiration.
You INSPIRE me! I consider myself an always-looking-for-that-diamond-in-the-rough type person too, but you’ve got me beat girl! Just scored an amazing table at the thrift store yesterday for 3 dollars and a gorgeous full length mirror for 5! Can’t wait to try out your Heirloom white paint on them to make em purty. Thanks for all the great ideas!
How did you remove all the little bits of fabric that were left and make it look so smooth? Was it with the pliers?